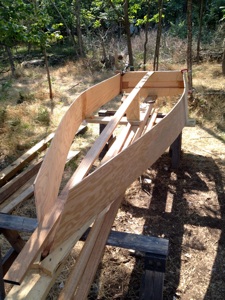
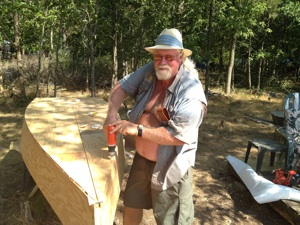
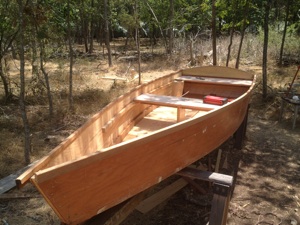
The is the first of the boats that I hope to build one a year of.

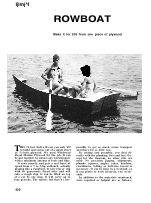
To the right you will find the plans I used, which are quite old but thorough and fairly easy to follow. While I don’t know the author of the plans but he left very little out. All said and done, if I wanted another one, I’d build it again.


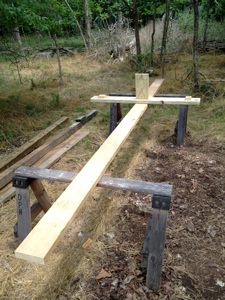
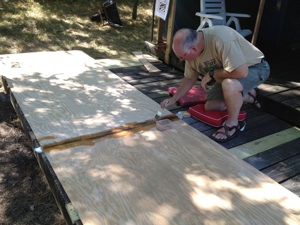
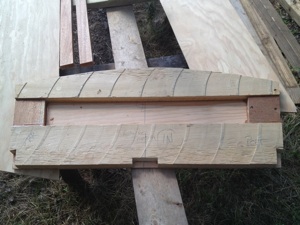
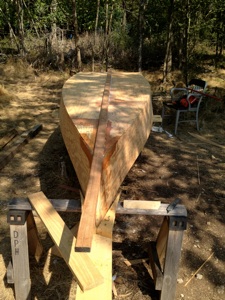
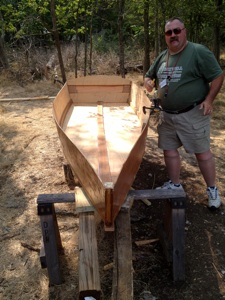
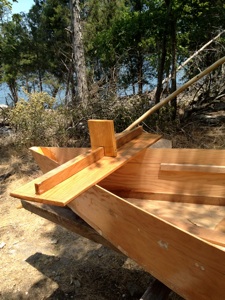
What follow is my photo essay with notes.


The jig, I don’t like working on the floor. Oh, there’s no floor here. A piece had to be added to the back for the transom to rest on as though there was a floor here.

Joining two sheets of plywood. Couldn’t find 14’ sheets, but the fiberglass butt joint worked well. I used 1/4” plywood instead of 3/8” because of availability. Walter works better bending over than I do.

The transom inside. I used some wider pieces of cypress that Walter came up with, one of my few variations from the plans. I left the mill cut on the bottom and smoothed the top.

Sides and transom joined. All going according to plan.

Cleats now in place at the front.

Rough cut stem. 2” on the bottom, 3/4” on top. This worked out to be a 17 degree cut, but that was eyeballed and  I took the degree reading off the saw. The stem was later trimmed on the boat. In the plans the stem was angled with a rasp, I used a table saw.

With the stem in place, this was good spot to test fit the inner keel and floors. I would have to say that the author must have done some trimming at this point, as the sides and floor weren’t a perfect match. You have two choices. Either give the stem some more rake or use some marine Bondo to fill in some gaps. As this boat was scheduled to be painted, I chose to fill in the gaps.

Here I made some spreaders to give the hull its proper dimensions prior to installing the chines. This wasn’t mentioned in the plans but seemed like a good idea. Yes my inner keel has about a 1/2” warp but it didn’t bother anything.

Here are the chines, glued and screwed.

And again with clamps removed.

Installing floor.

Outer keel going on. You can see where the slight fill needed on the floor was taken care of before installing the outer keel which covered it up very well.

Medic Man lending a hand helped with installing the chines. As this was an outside build, I gave the outer hull a coat of polyester resin while it was still upside down.

A variation on the plans... Instead of making cleats for the seats, I made a seat rail that ran 3/4 the length of the boat. Really stiffened the sides. Also left some room for play in the seat placement. Also I was able to run some 2 1/2” screws through the transom into the seat rails for more strength,

Seat went per plans. If remaining a single man rowboat, it should go about 4” rearward and the plans call for.

Plans weren’t clear as to the placement of the 10” wide stern seat. I used a 12” oak board and ran it back to the transom. There is a gap at the back so the seat won’t hold water. You can also see both gunwhales installed but only one trimmed.